How to fix cracked porcelain tile
Cracked or chipped porcelain tiles can be the result of several factors, including heavy objects dropping on floors, installation flaws or substrate that was applied incorrectly. They can occur in shower installations, living rooms, kitchens and other applications throughout a home or business. It is important to remember that a chipped floor or a seal cracked tile needs to be fixed promptly in especially business areas, using the right tools and processes.
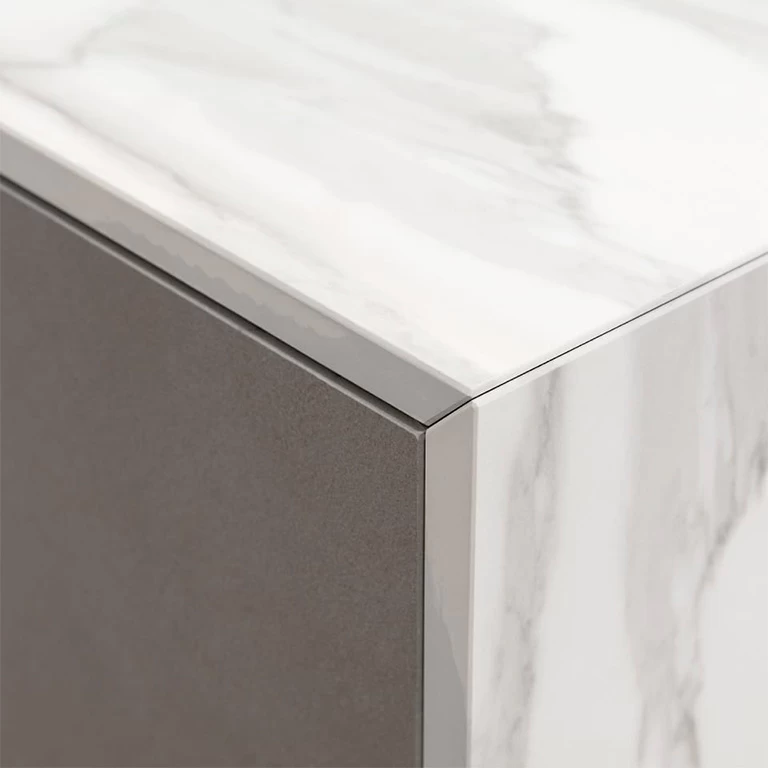
Also, it is important to remember that only chips on the edge of a cracked porcelain tiles or slab can be repaired. If a slab cracks, a professional installer will need to replaces it completely.
By addressing a chipped tile promptly, you can prevent further stresses from enlarging the crack, thereby reducing the risk of additional damage and maintaining the aesthetic appeal of your space. In this article, we look at how to fix chipped porcelain tile and what the best ways are to do a porcelain tile crack repair.
How to fix chipped porcelain tile
When you need to fix large format porcelain tile or other applications, it is important to use the right toolkit that is suited for making tile repairs. Typically, one of the best ways how to fix chipped porcelain tile is using a universal stone restoration and chip repair kit such as Tenax’s product. This can be used for several surfaces, such as porcelain countertops and porcelain shower panels in commercial or residential environments.
It is recommended to also use the Tenax TeFill 3 (Activator Spray) if you plan to use the brand’s stone repair system. It provides fast curing and is well-suited for lasting repairs to surfaces.
As with any tile repair project, you must ensure that the tiles are clean and that the edges of the damaged or chipped tile are milled and rounded off before work commences. Then, ensure your tiles are dust-free.
You can then apply your prepared color paste to the tile surface and insert your adhesive, leaving your repaired tiles for at least 24 hours before cleaning to remove any excess adhesive.
Materials
Your repair kit will typically include color pastes that you can use as part of the repair process. Make sure that the colors available can match your tile repair project.
Also, remember that you could require replacement tiles if needed, and must have other materials such as grout, epoxy resin, tile adhesive, sealant and tape to ensure your repaired tiles can be properly fixed to the surface.
Tools
Together with your kit, glue gun and milling tool, you will need equipment such as sponges for cleaning, dust pans and brushes, and safety gear for the cleaning process.
How to repair chips in porcelain tile shower
The first step in repairing chips in a porcelain tile shower is to clean the affected tiles thoroughly, ensuring they are completely dry before starting the repair. You can then sand the area to remove any sharp edges.
For minor edge chips – typically caused during handling or installation – a simple glaze touch-up with a paintbrush may be sufficient. If another coat is needed, ensure the surface is fully dry before reapplying.
For deeper chips on the edge of the slab, epoxy applied with a putty knife can offer a more robust solution. Allow the epoxy to dry for at least 45 minutes before lightly sanding the area.
Chips or cracks that occur away from the edge, such as in the centre of the slab, cannot be repaired effectively and will require full tile replacement.
Also, avoid using detergents on the repaired surface for at least five days to allow for proper curing.
How to fix cracked floor tile
To fix a cracked floor tile, begin by gently cleaning the damaged area, taking care not to worsen the damage. Next, apply tile filler or epoxy directly into the crack and smooth the surface with a suitable tool. Wipe away any excess filler with a damp cloth and leave the area to dry completely.
As with shower panels, it’s important to note that only cracks or chips located along the edge of a tile or slab – such as those caused during transportation or installation – can be repaired effectively. If the damage is in the middle of the tile or spans across its surface, the slab will need to be replaced to ensure both safety and aesthetics.
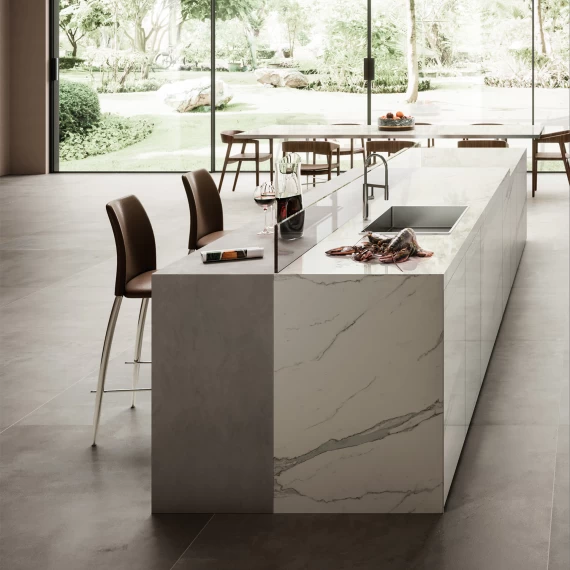
How to fix a cracked porcelain countertop
A cracked porcelain countertop may not always require complete replacement, but this depends on where the damage has occurred. If there is a chip or crack on the edge of the slab – even after installation – it can often be repaired. Start by cleaning the surface thoroughly, especially in kitchens where residue can accumulate in damaged areas. Apply an epoxy filler and let it dry for at least 24 hours.
To reinforce the area and prevent further stress on the surface, place a plexiglass sheet over the repair and secure it with clamps. Then carefully apply a stucco filler to seal the crack fully and maintain alignment.
Keep in mind that cracks or chips located away from the edge of the countertop – such as in the middle – cannot be repaired and will require a full slab replacement.
For best results, always consult professional tile installers to assess the damage and recommend the most appropriate solution.
Be sure to reference our guide on cutting porcelain tiles!